How-To Guides
Looking for the Customer Success Library? Click here.
Setting Up the Claims Center
Setting Up the Claims Center
1.
2.
In a world where insurance companies add barriers and complications, RipsyTech wants to make billing as easy as it can be. Our Claims Center is built to help simplify the claims process and track the status of each claim.

First, you must set up your Charge Master. A charge master is essentially a table that lists your clinic’s prices and rates, broken down by CPT code and provider level. Your charge master rates may also vary over time.
a.
d.
e.
To enter rates into the EHR, go to “Clinic > Manage Billing > Rates”:

b.
c.
g.
b.
c.
d.
e.
If this is your first time filling out your ChargeMaster rates, or creating a new set of rates at the beginning of the year, click “Add New”. If you are instead editing old rates retroactively, click “Edit History”.
This will take you to a page where you can fill out your rates:

First, define the period in which the rates are valid. This can be the first day of your operations, to an indefinite period. If you are instead filling out an insurance contract, your in-network rates contract should explicitly state when the contract begins and ends.
Then, select “All locations” to begin filling in rates:

3.
f.
i.
This opens up a long table of CPT codes and provider levels. Psychiatrists typically correspond to MD, and therapists to Masters.
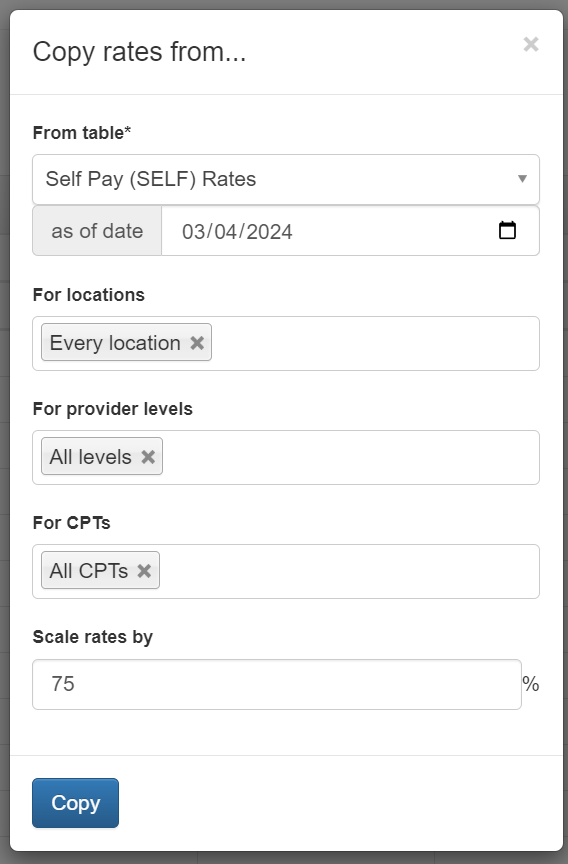
You may copy rates directly into this table from a spreadsheet, or use the “Actions” toolbar to quickly help fill the spreadsheet. Particularly, “Actions > Copy From…” may be helpful in updating rates from previous years or contracts, or to copy Charge Master rates to Self Pay rates.

h.
a.
i.
You may also add any existing in-network insurance contracts you have using the Manage Rates page, by clicking “Add new contract” at the top right.

i.
ii.
iii.
Repeat the steps above to add in the contract’s listed rate fee schedules. This should look similar to the rates table seen above.
Having your in-network insurance contracts stored in the EHR allows the EHR to automatically compute network discounts for every visit, making your accounting simpler.
Why do these rates matter?
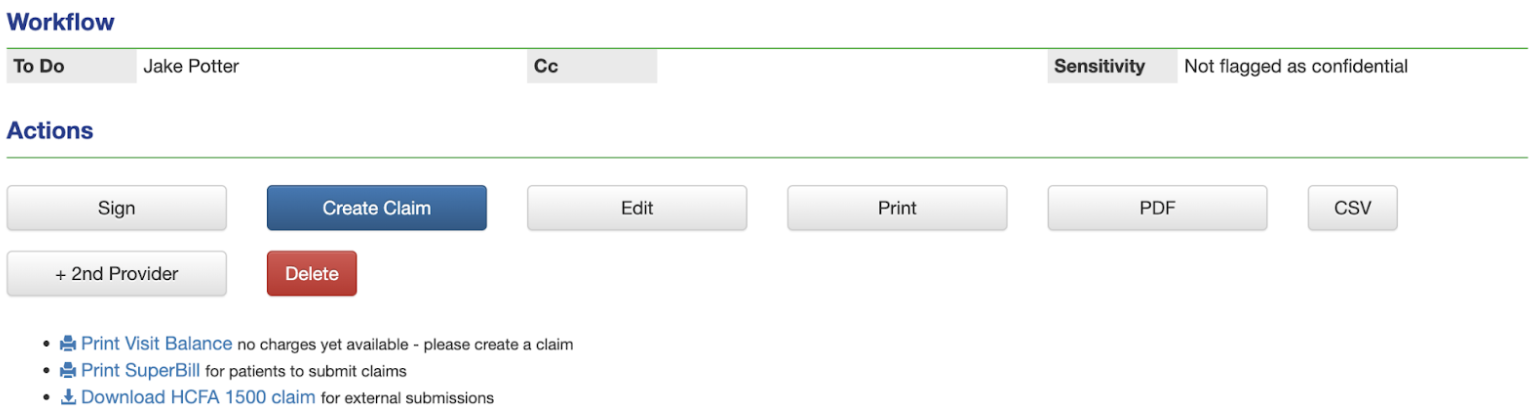
Charges will be created in the EHR once a claim is created (or the note’s billing is otherwise finalized) based on these rates and any patient benefits.
ii.
We recommend that your clinic enables our automatic eligibility checking feature, in order to estimate the patient’s benefits, via the “Clinic > Manage Billing > Settings” page.
This helps calculate the distribution of charges between the patient and insurance company correctly, and also satisfies insurance company requirements to check the patient’s eligibility before every visit. Automatic benefit checks will run every two nights before a patient’s visit.

Second, each insurance company, or “payer”, has a separate electronic address they use in order to receive claims called a Payer ID. This looks like a unique number like “60054” (for Aetna) or “62308” (for Cigna).
In the EHR, you may go to “Clinic > Manage Billing > E-Payers” page to manage these:

Or go directly to a patient’s registration page in order to add a new payer or select an existing payer:

You may skip this step for now. E-Payers can also be added after a claim has been created.
If you are having trouble locating the correct payer IDs, contact RipsyTech and we can help you.
Note: when filling out addresses in the patient registration or for the payer, please use 9-digit zip codes to save time, as insurance companies often reject claims with only 5-digit zip codes. You can use this USPS tool: https://tools.usps.com/zip-code-lookup.htm